What is Milk Bath Photography?
The complete guide to accomplish this photography style.
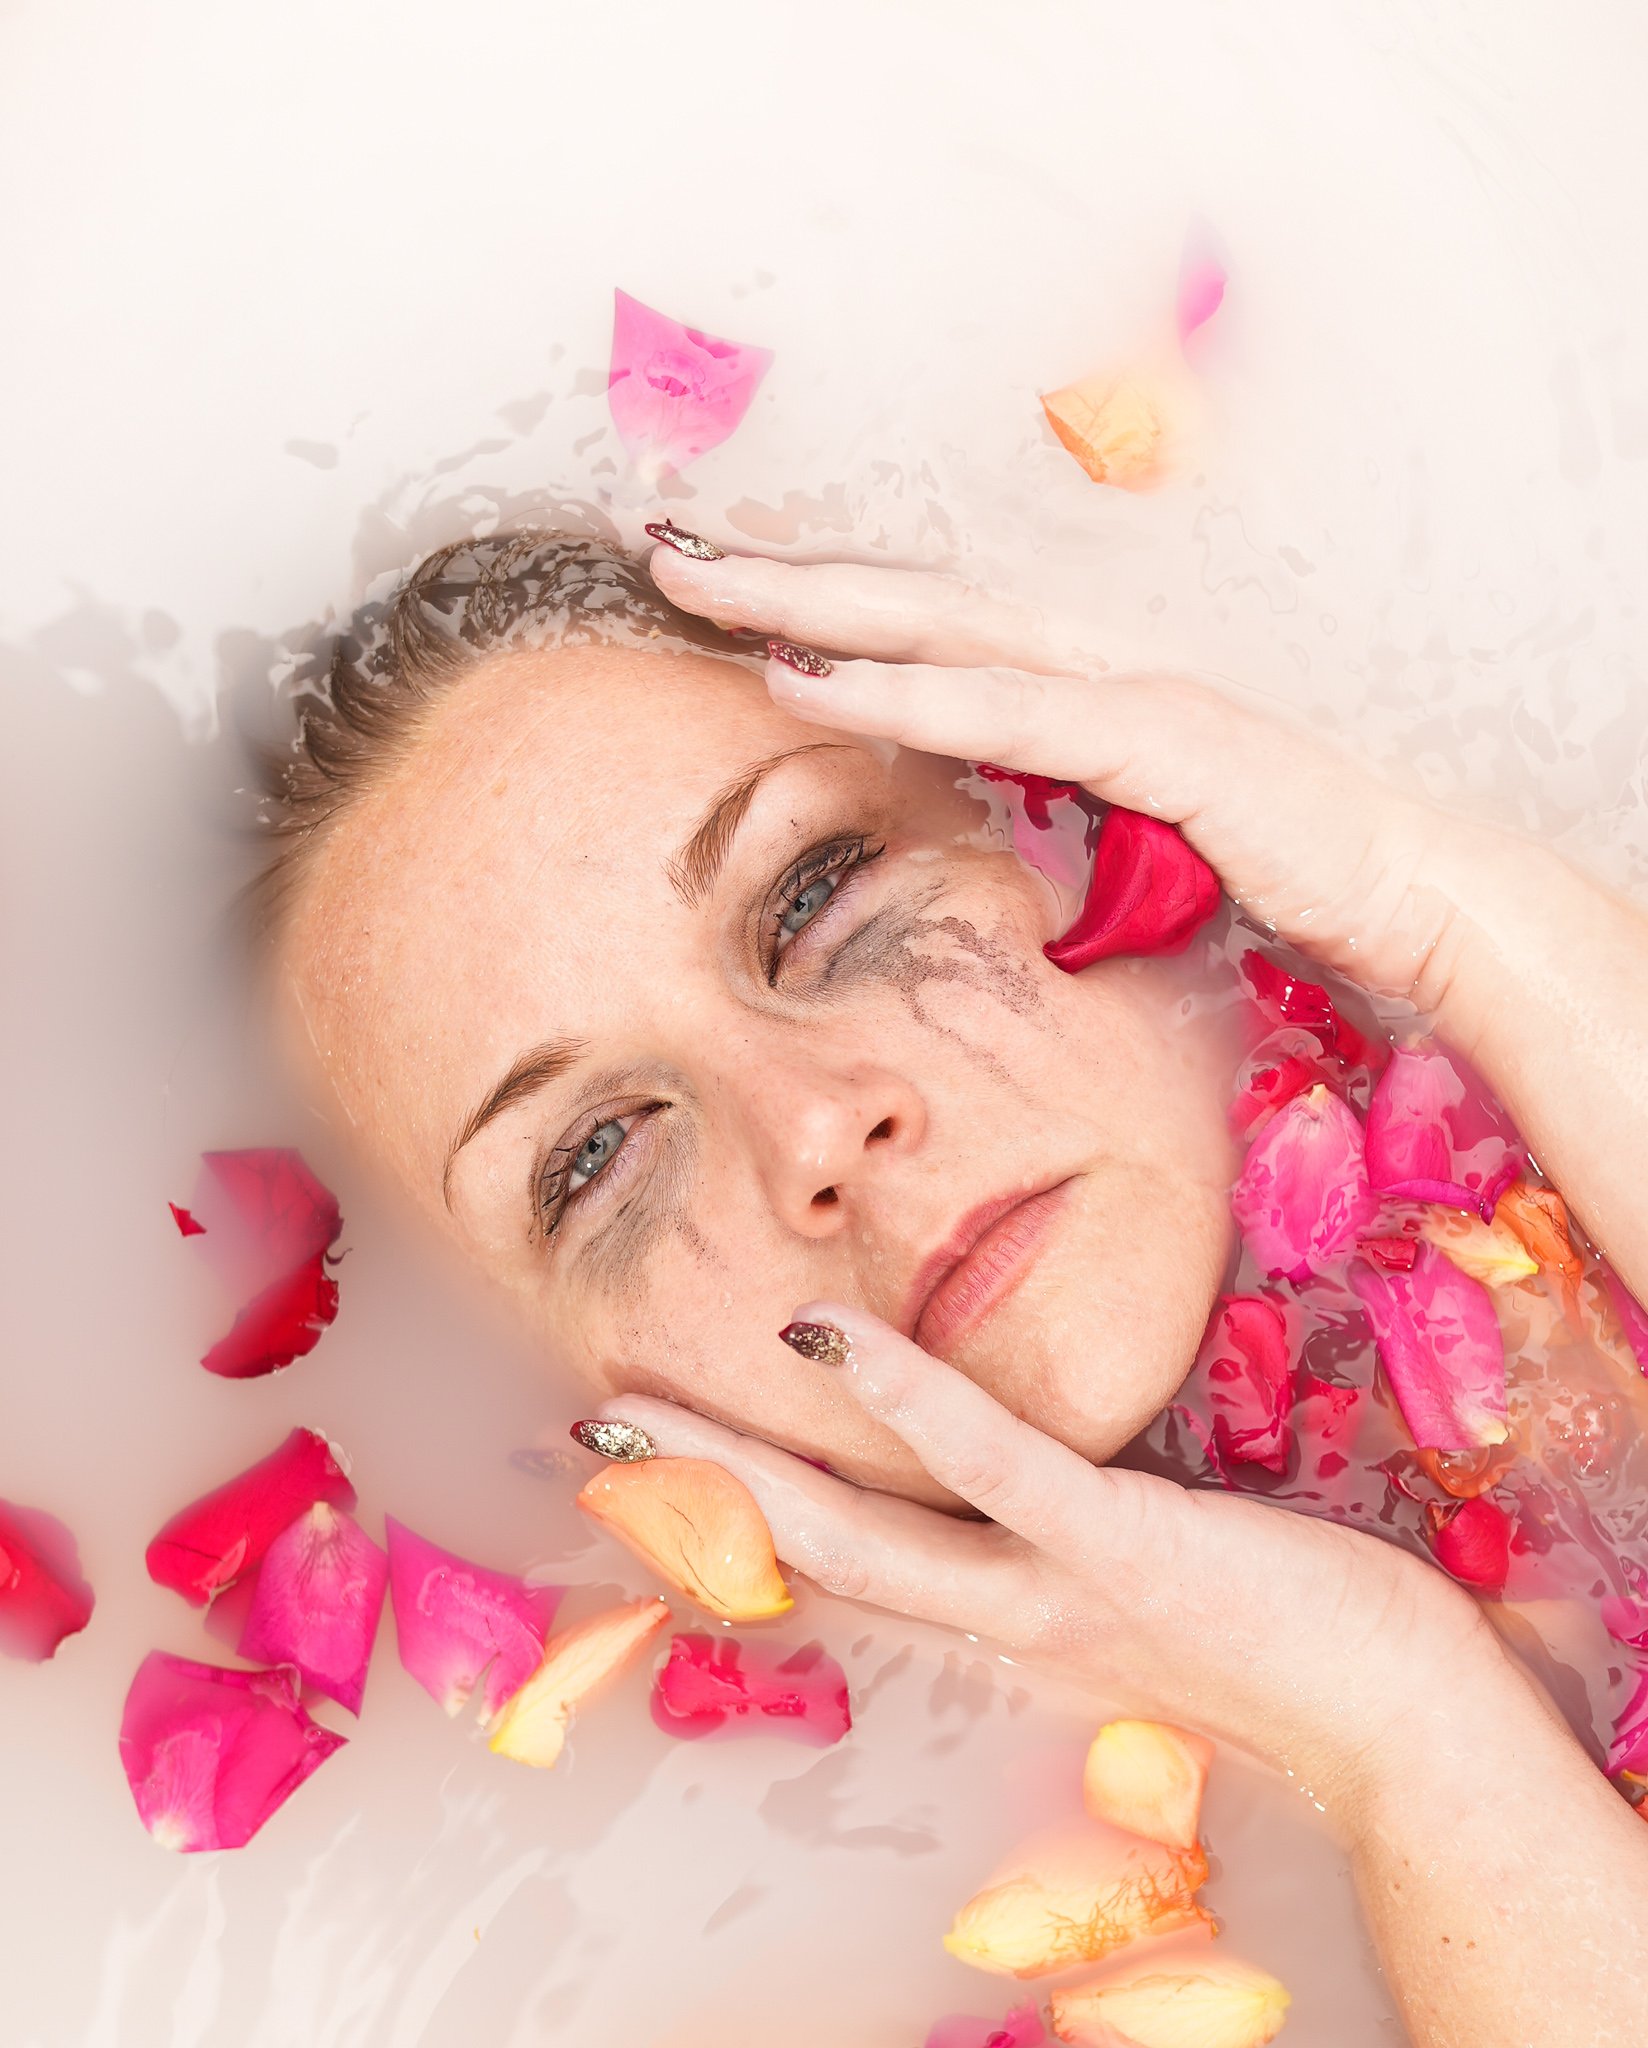
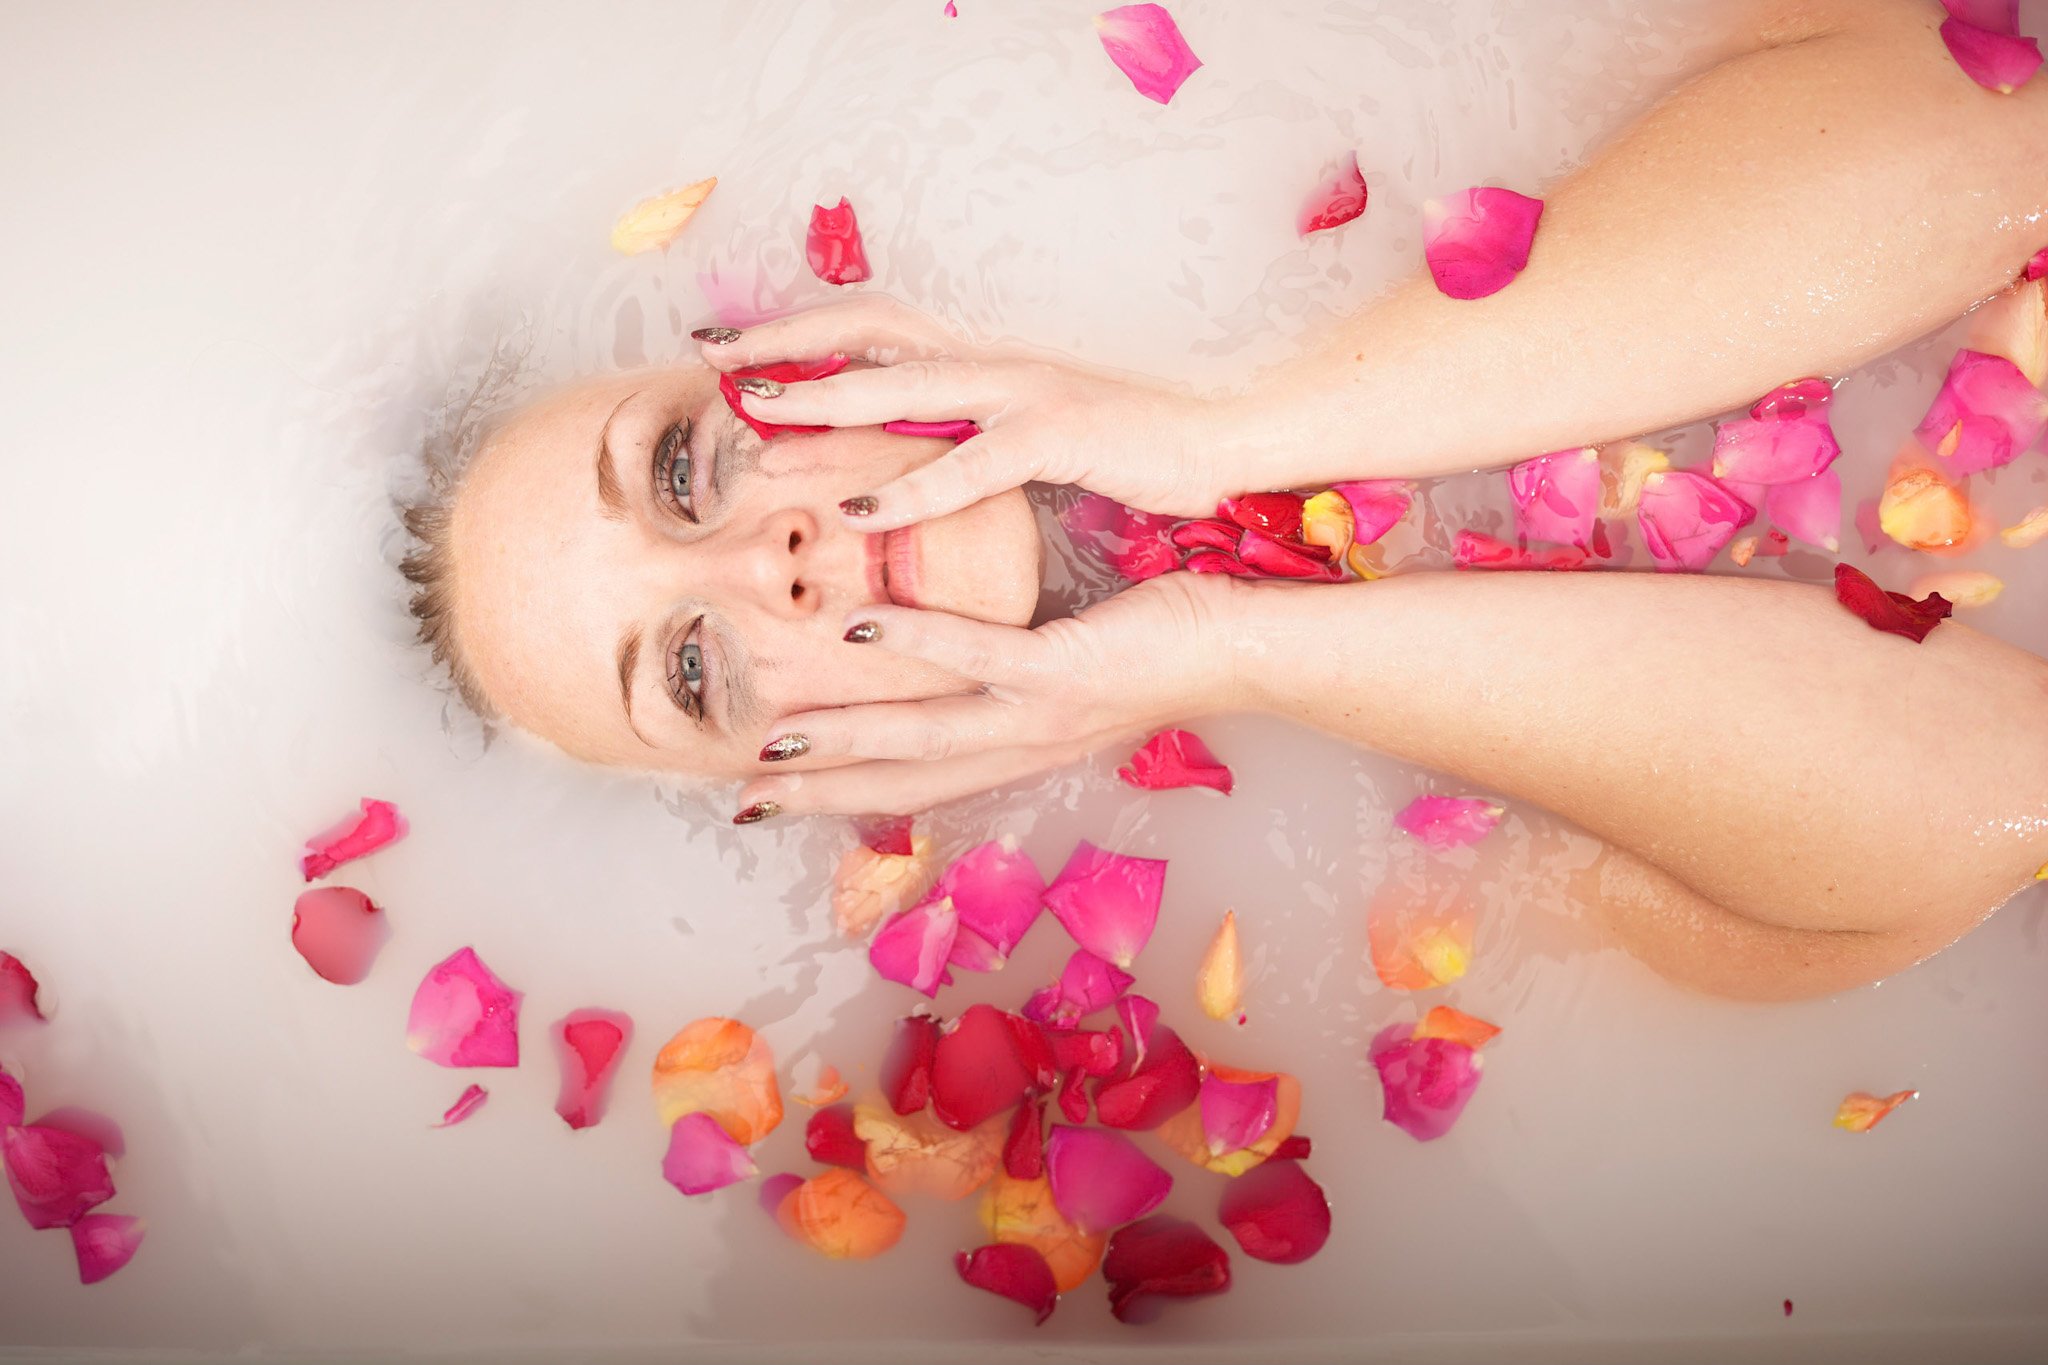
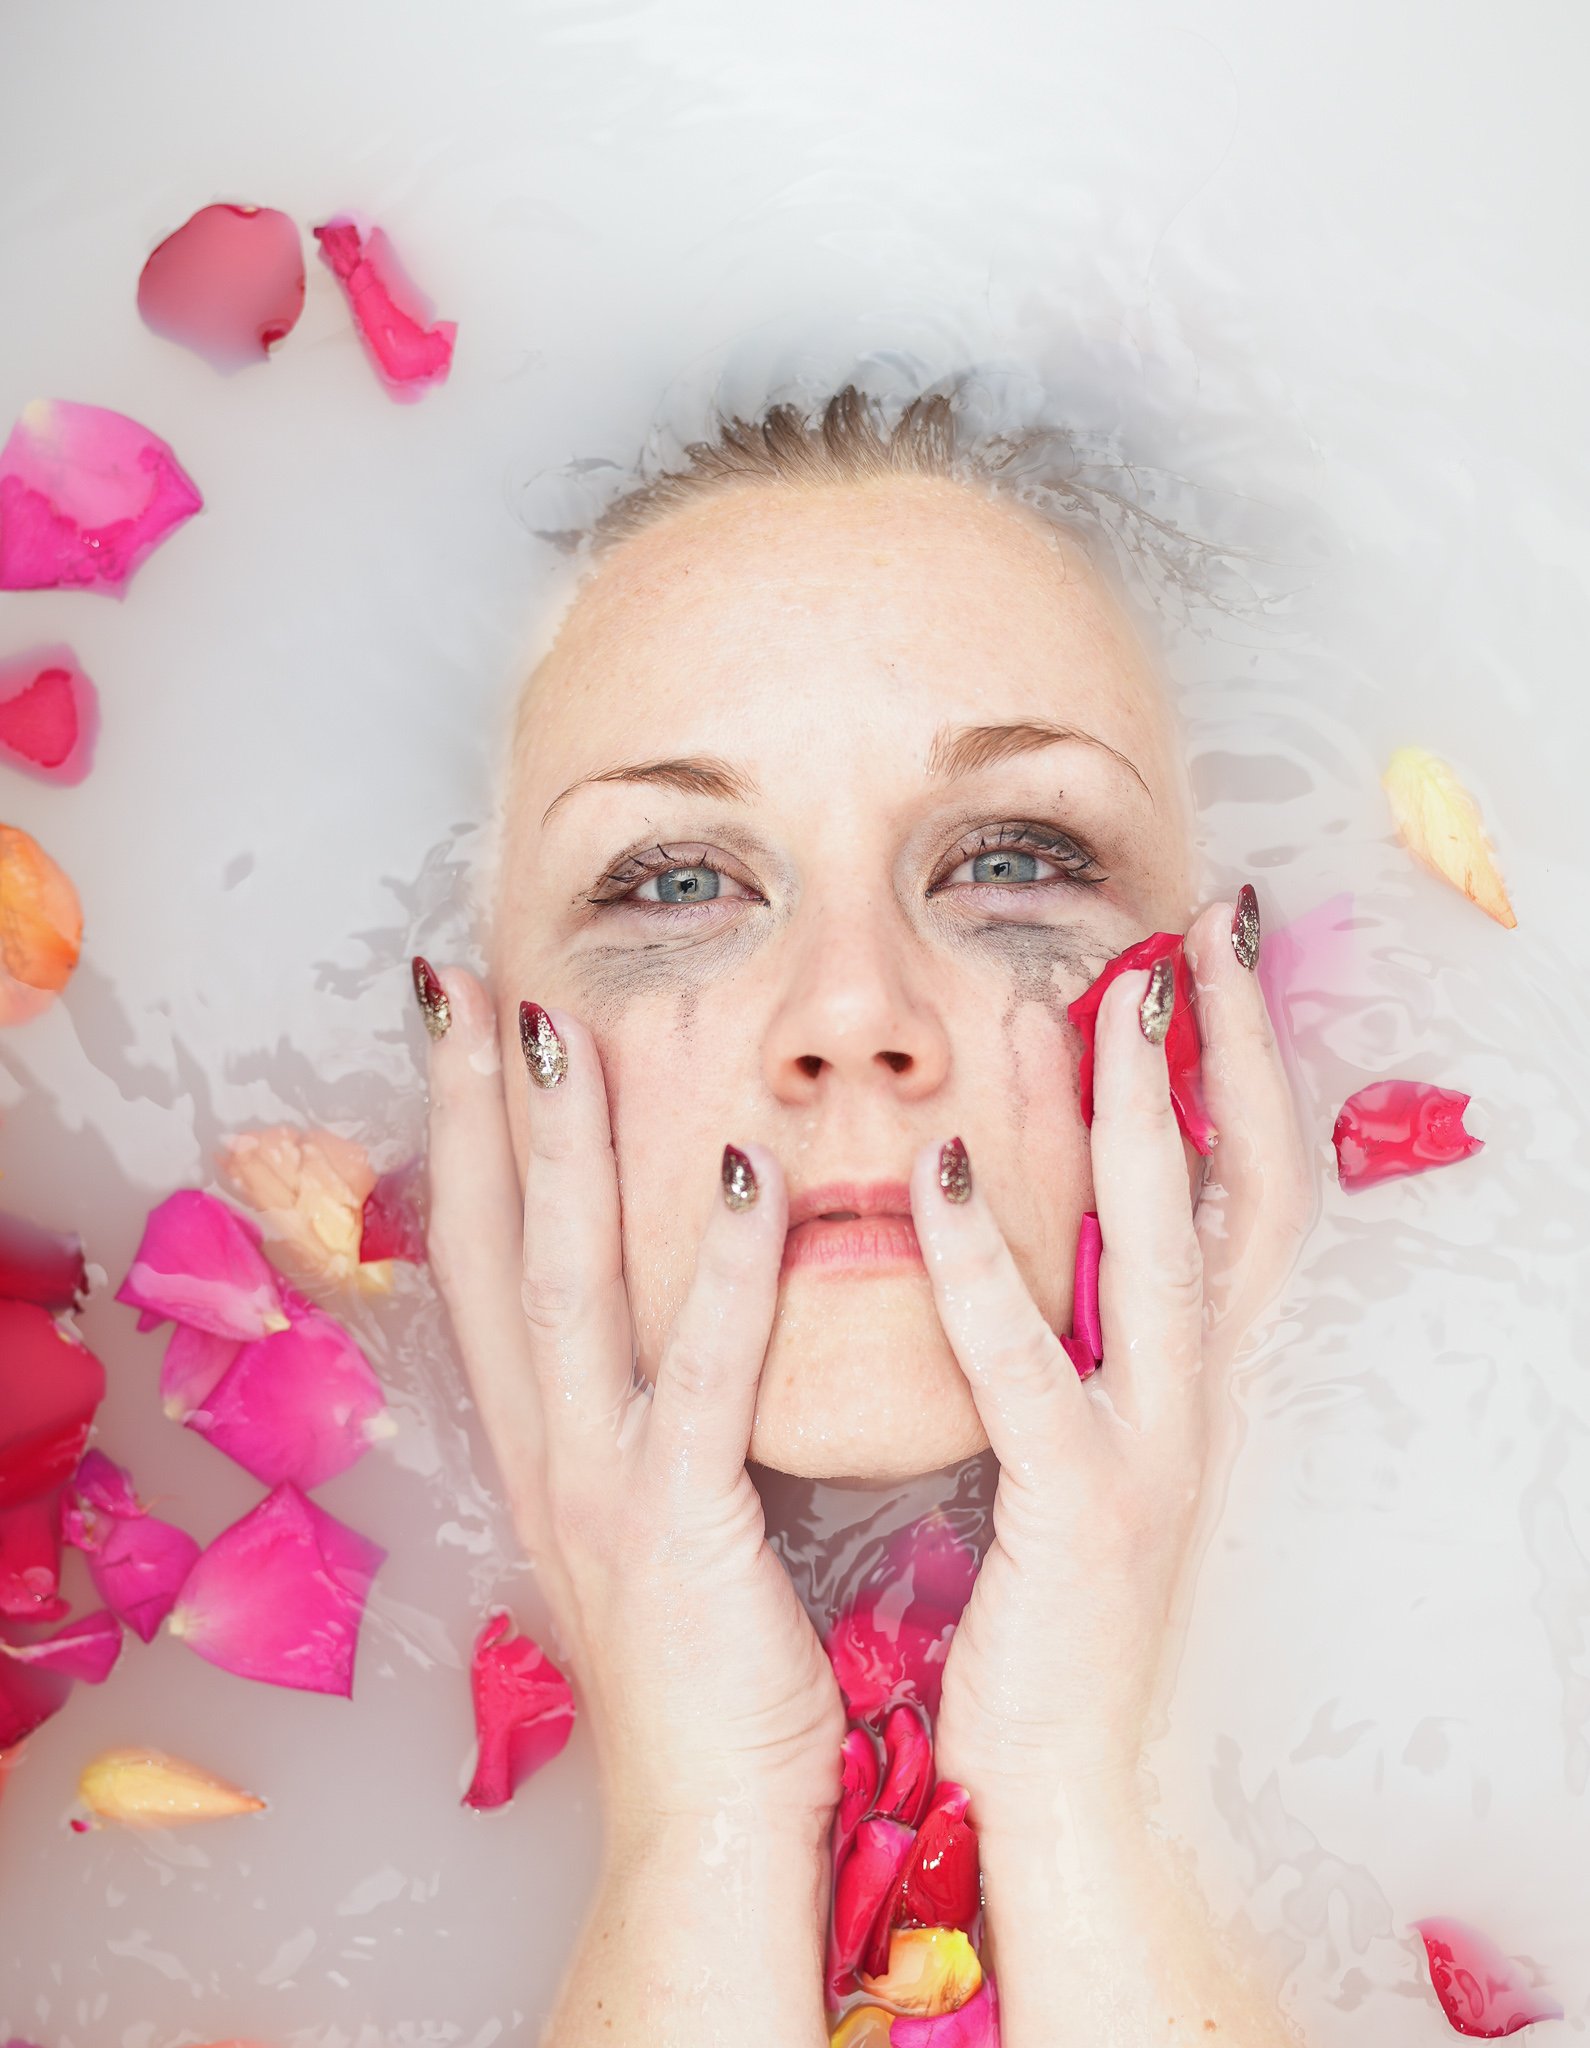
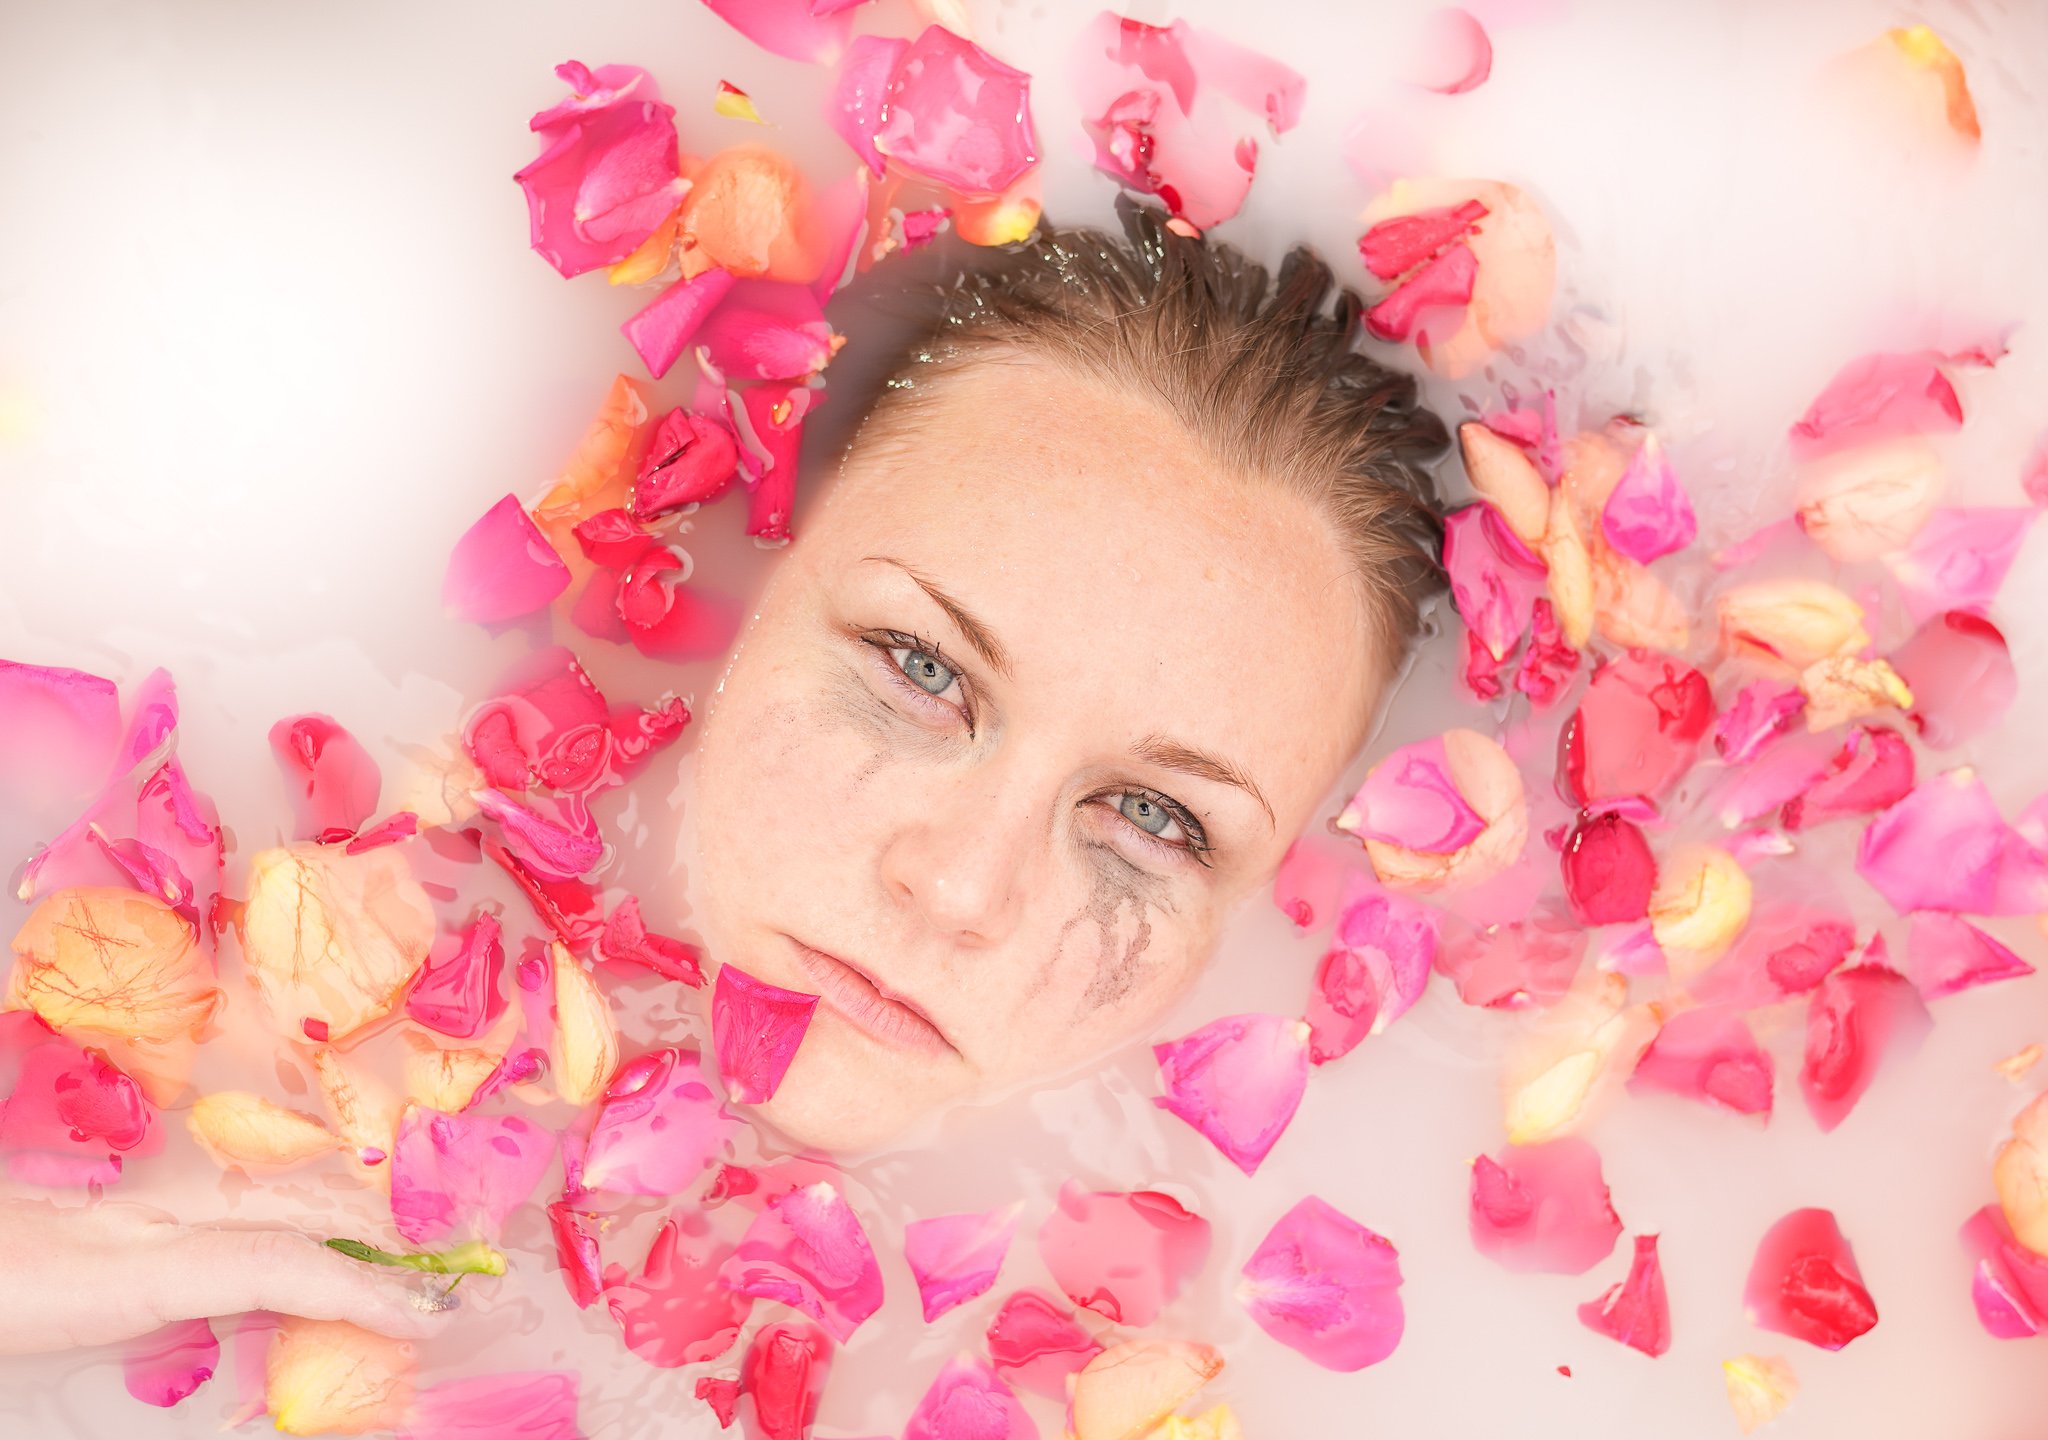
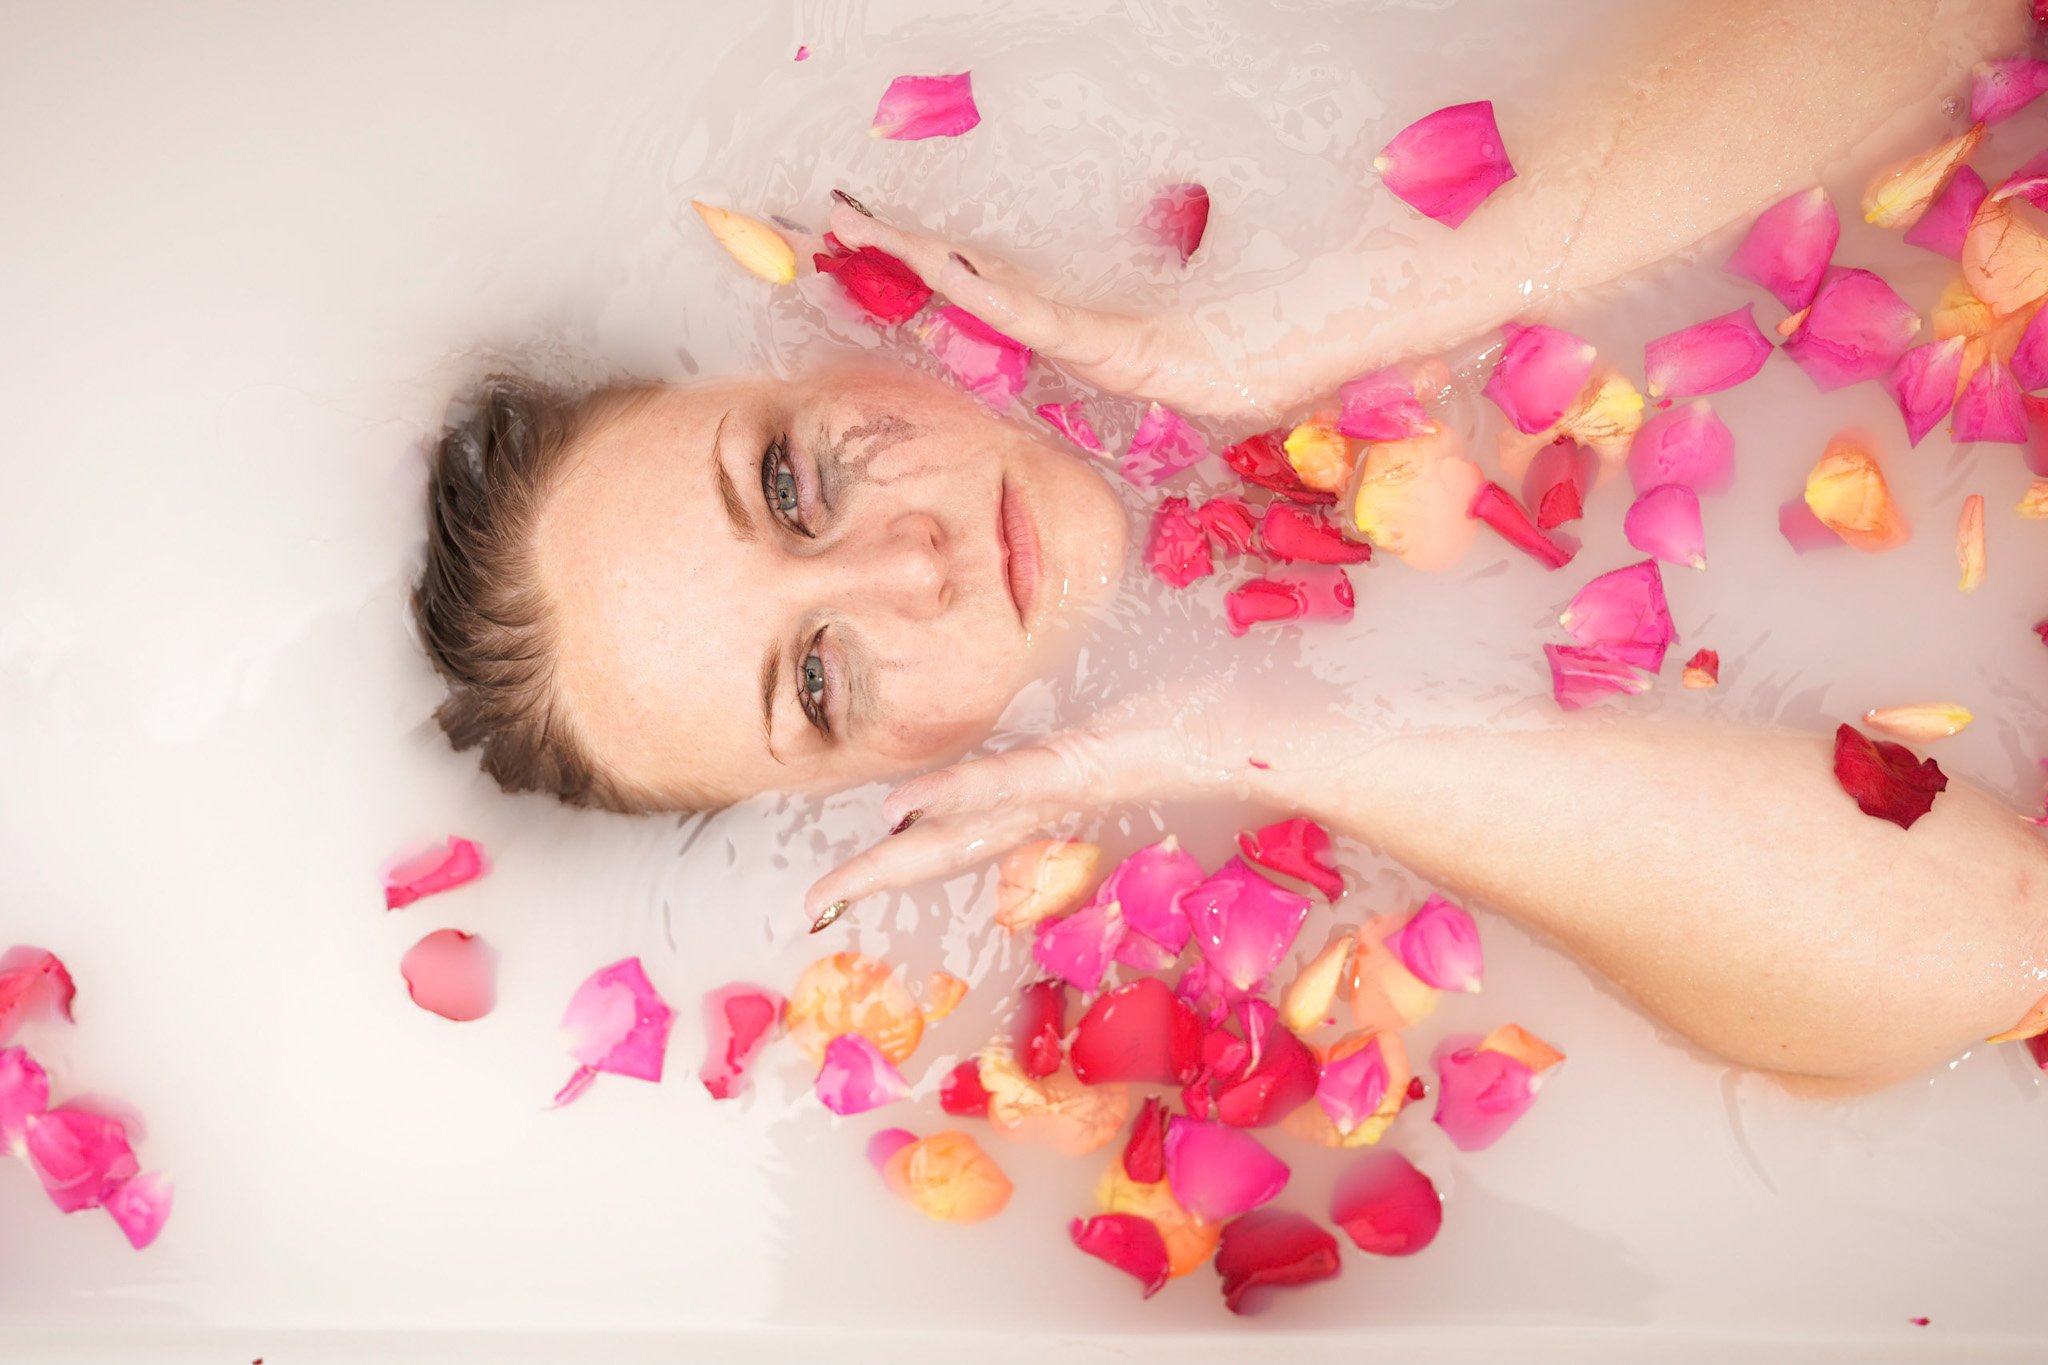
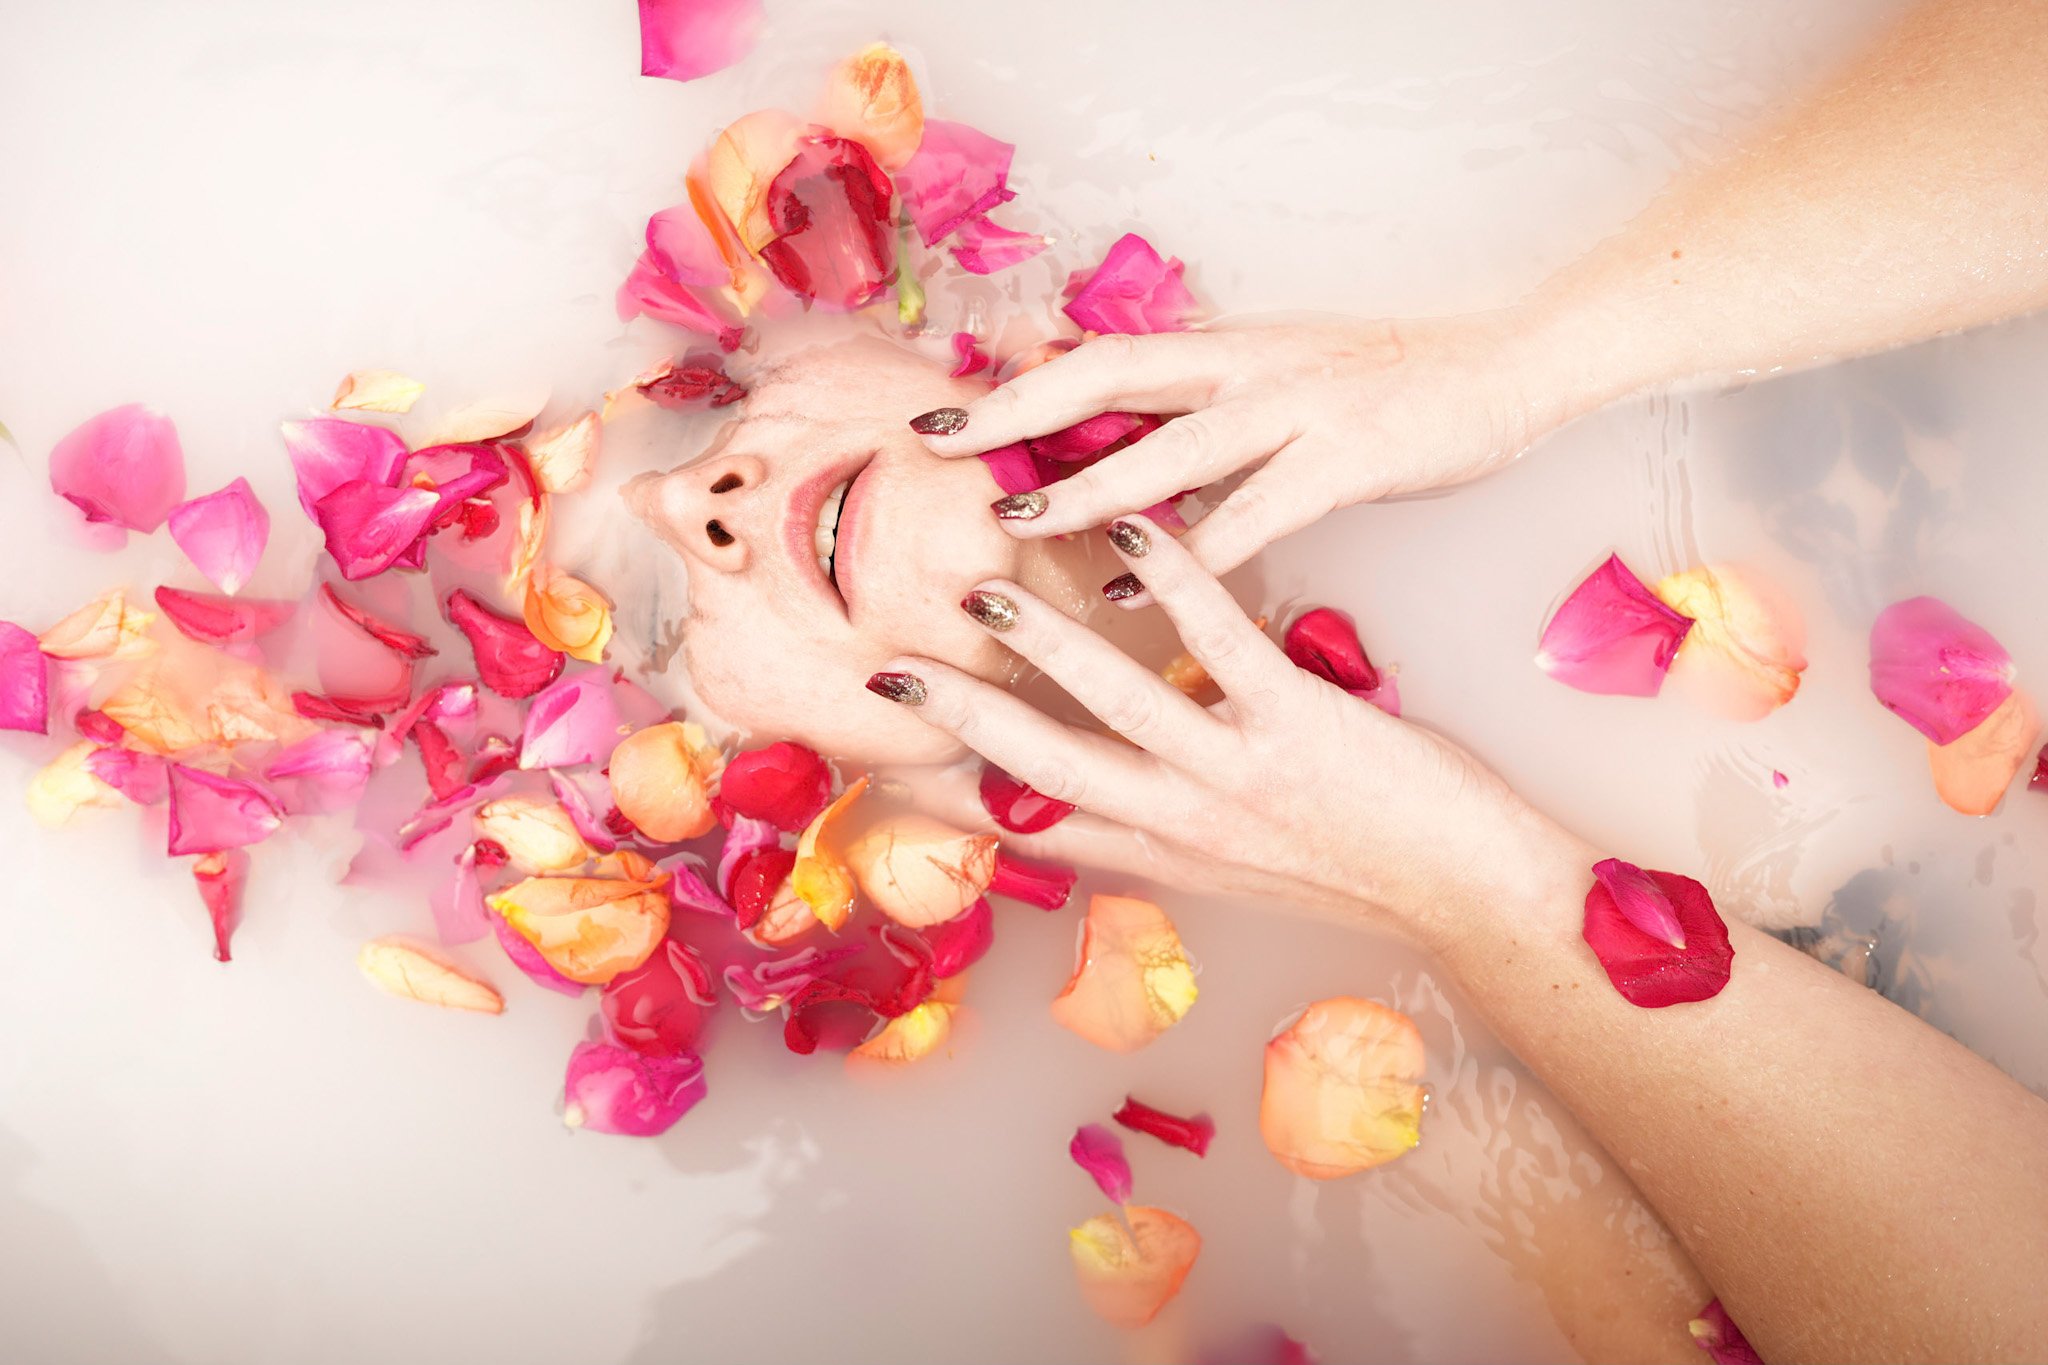
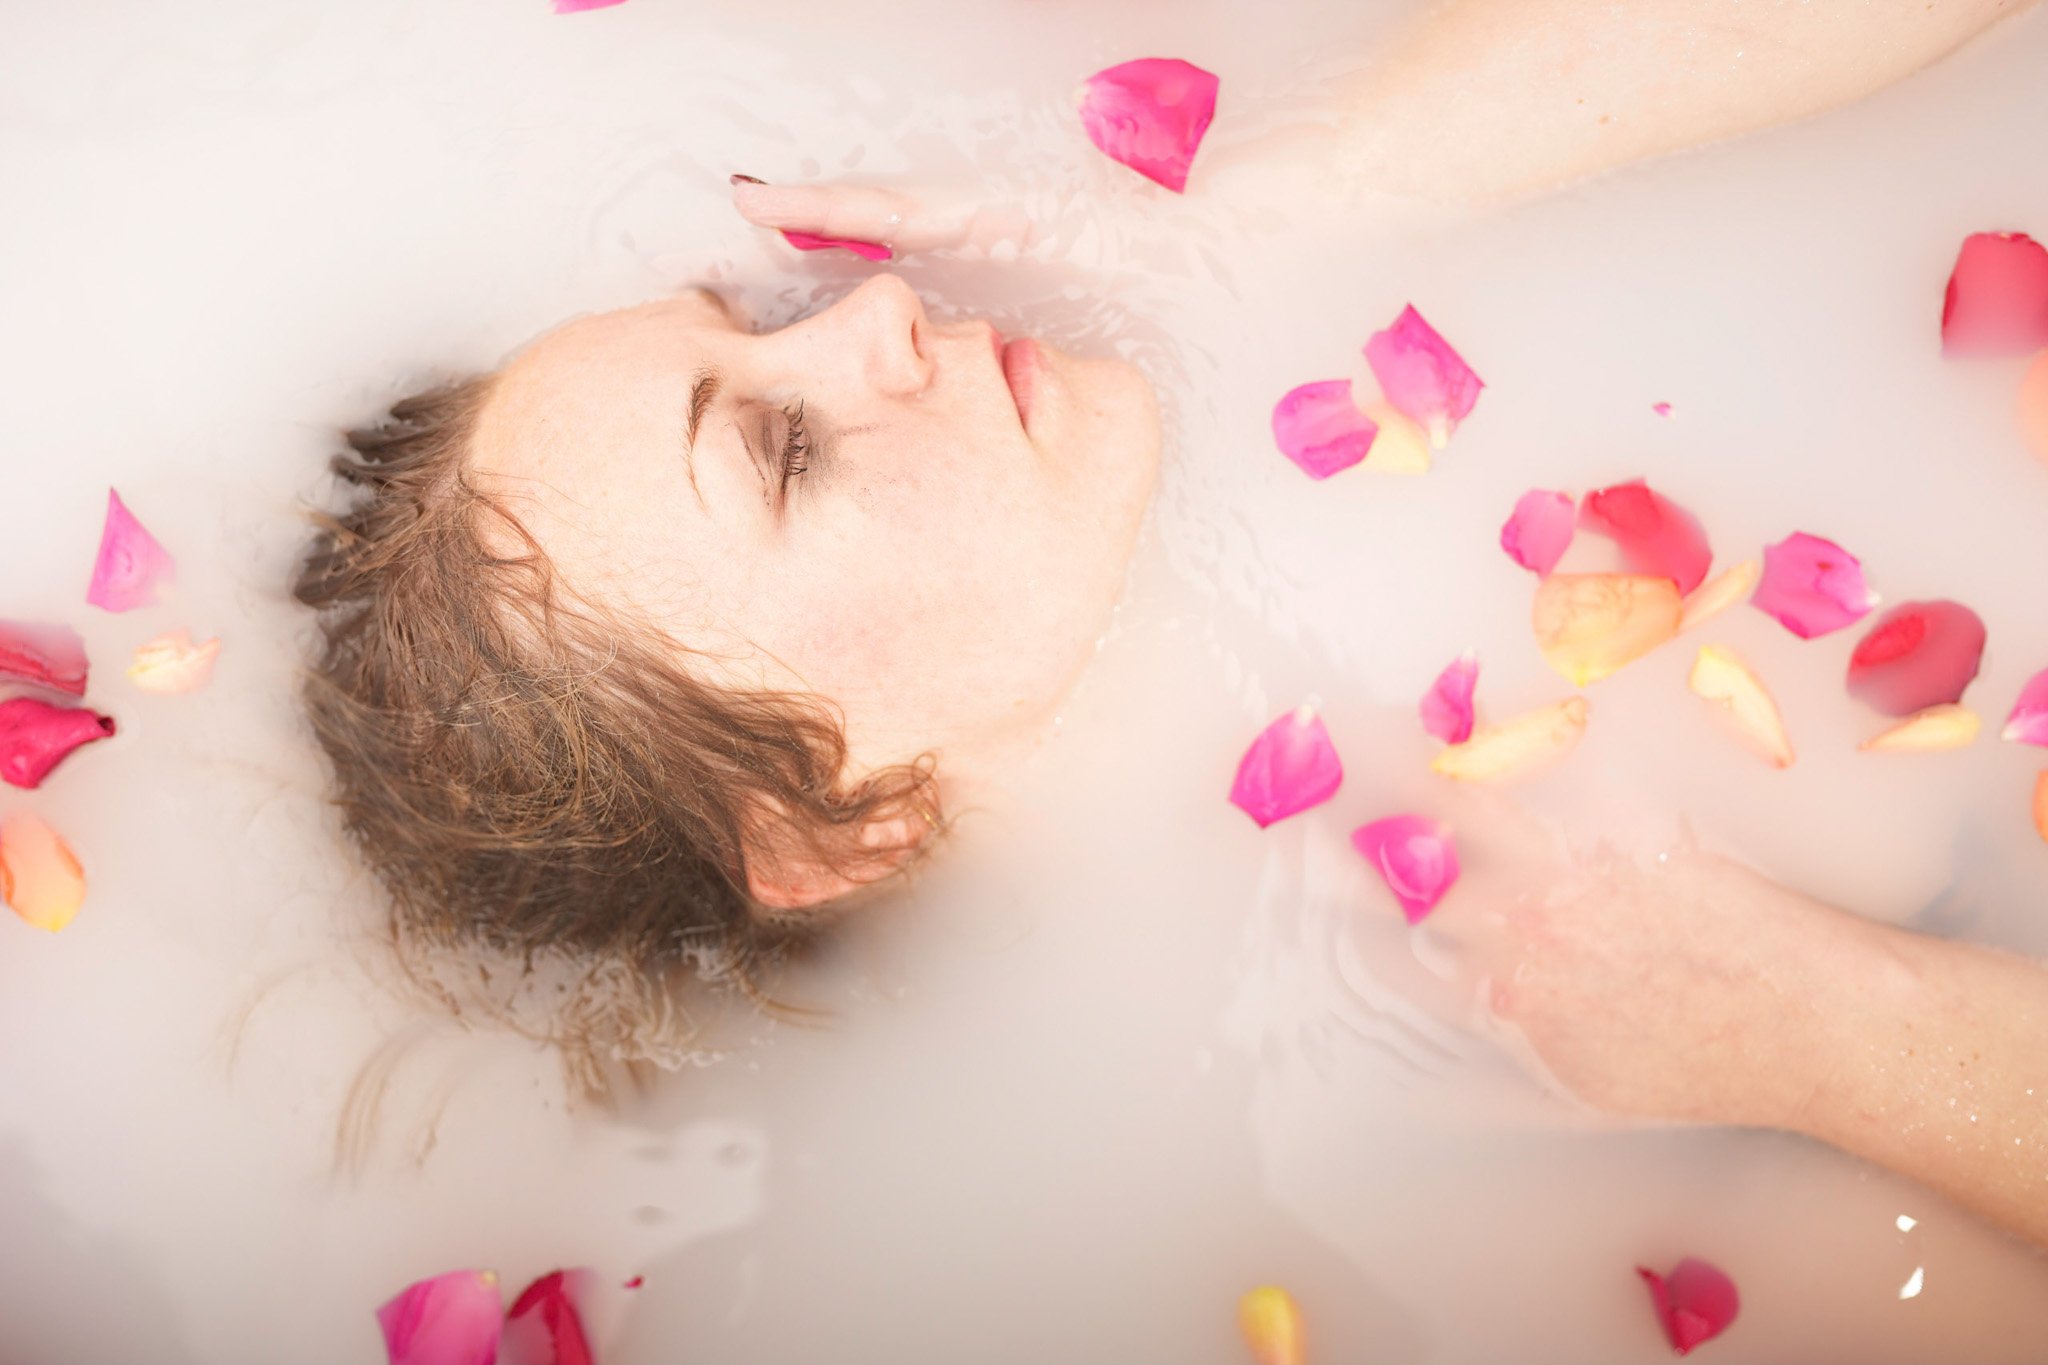
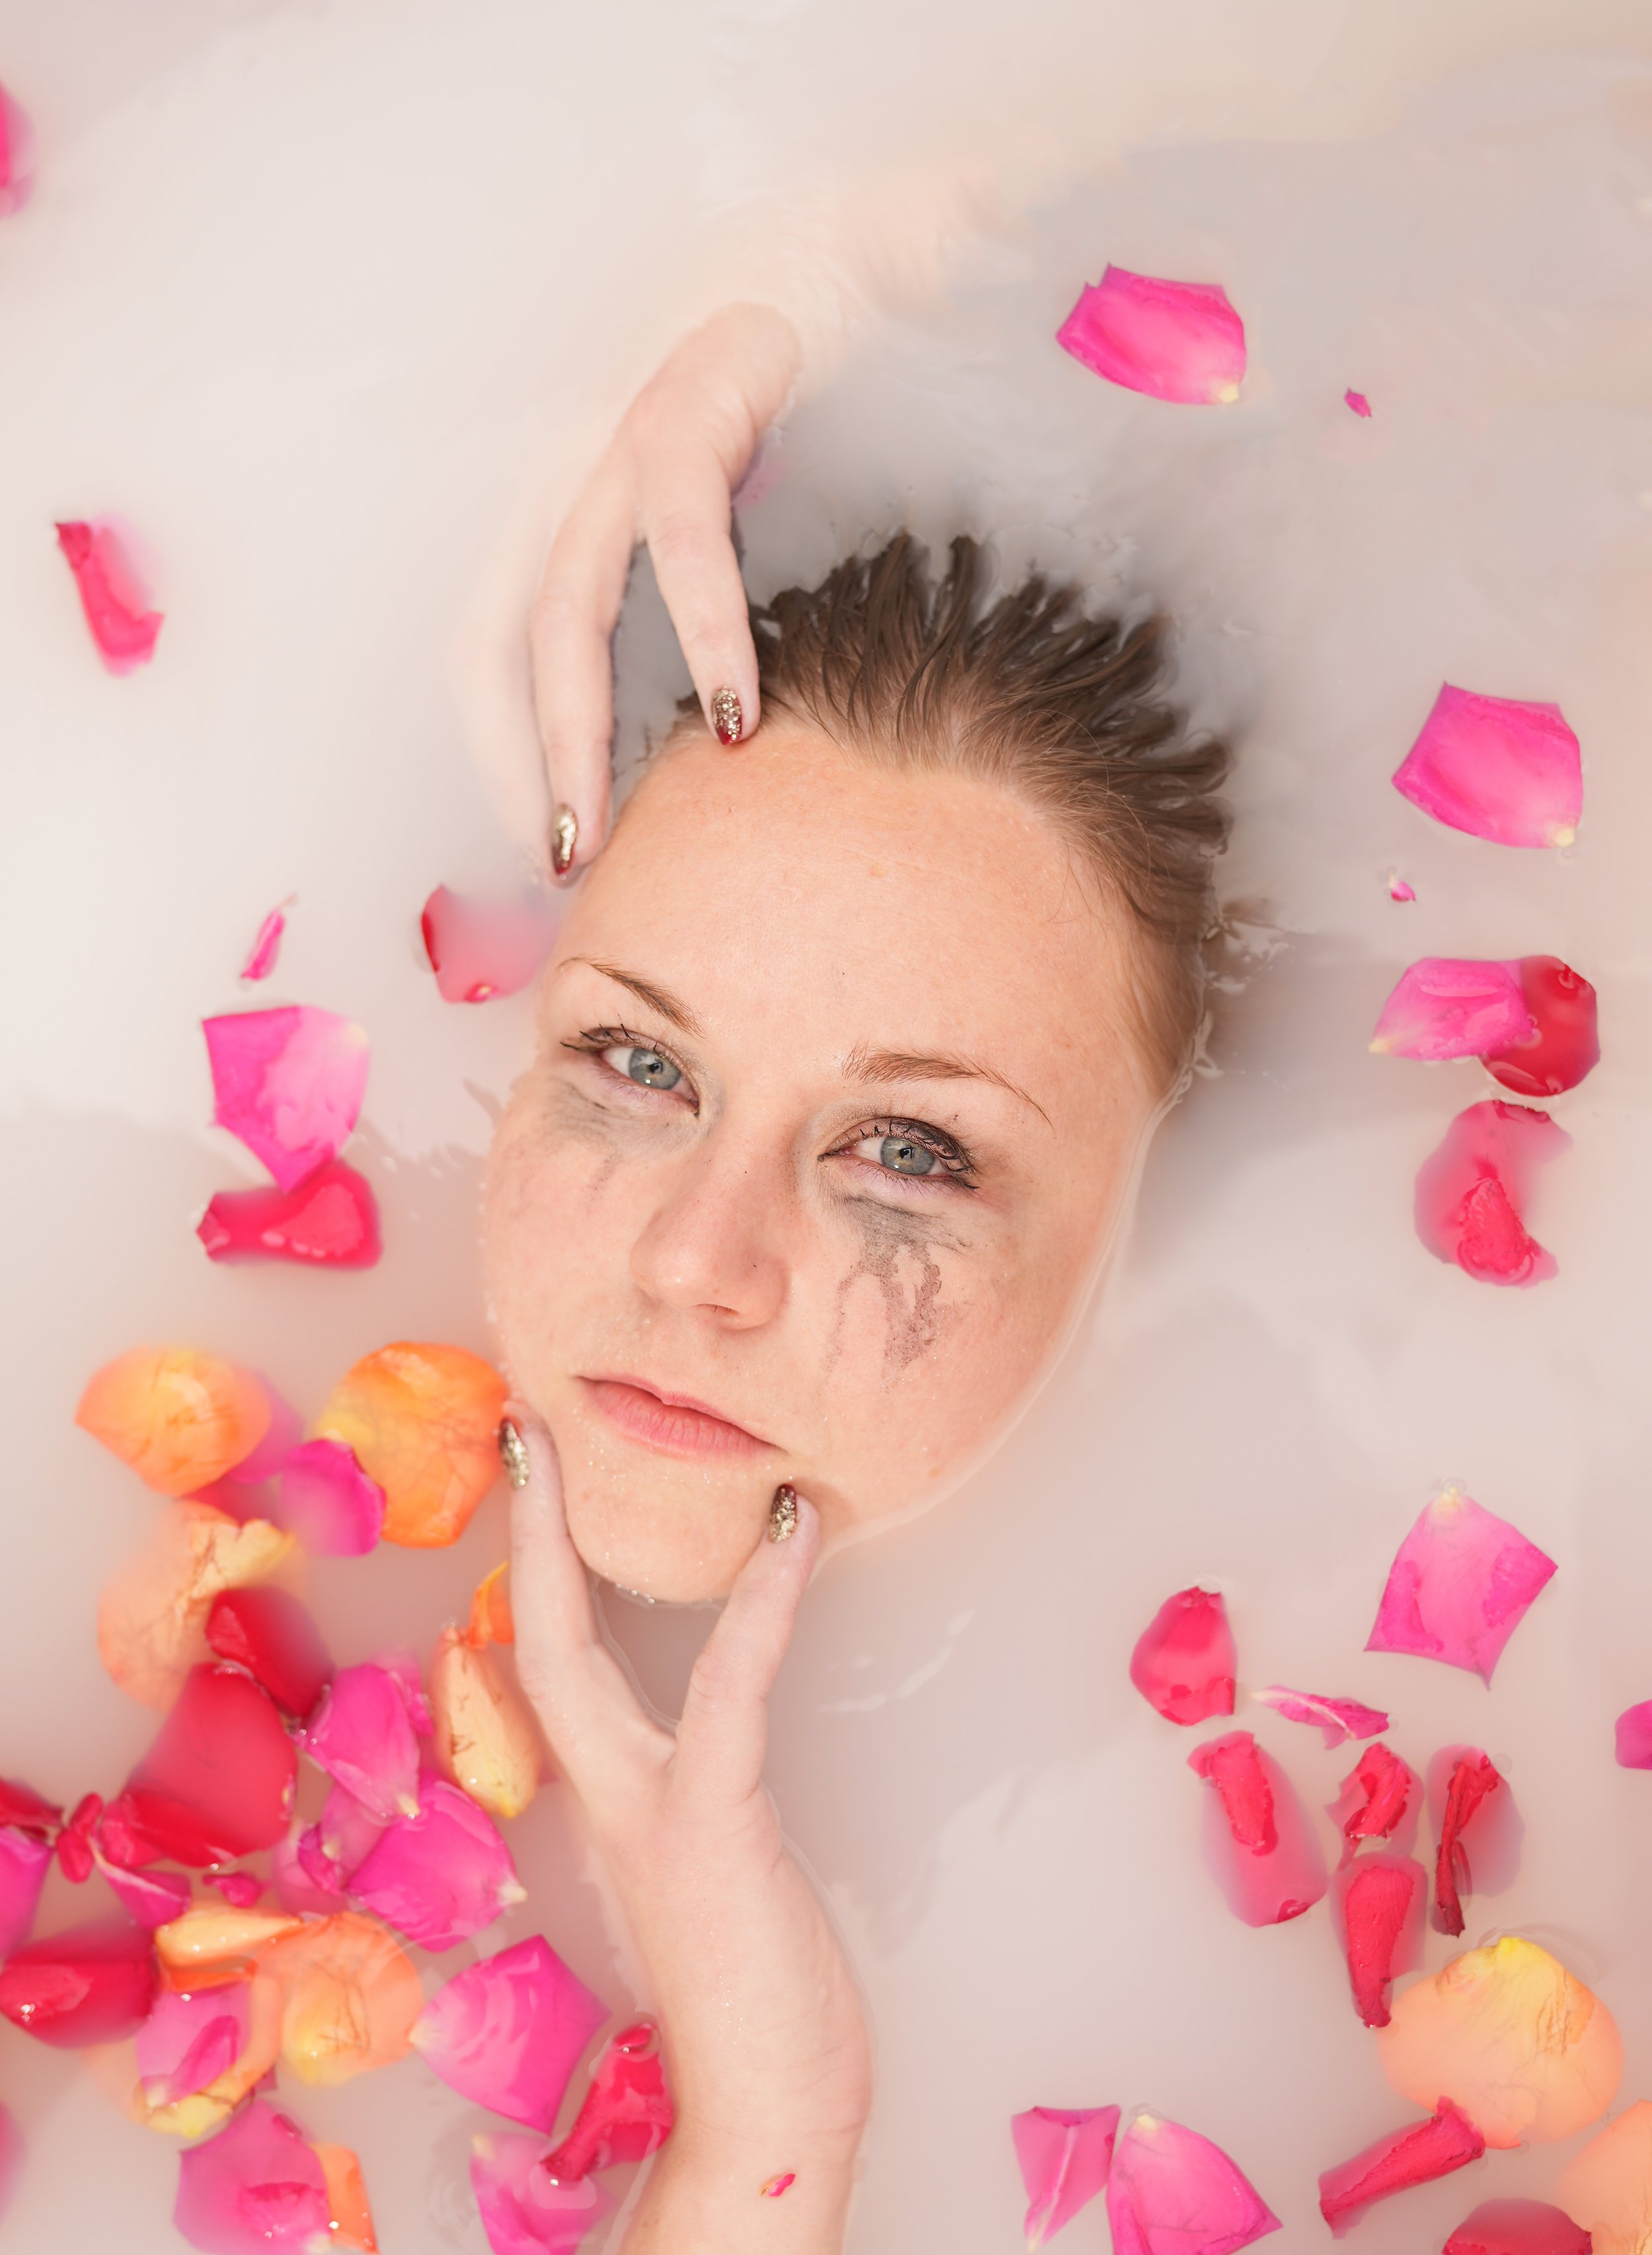
Milk Bath photography is simply a picture of someone in a bath, where the water resembles milk. These milk baths can be taken overhead or at an angle. Often the photo features other items in the bath with the person, the most common being a milk bath with flowers.
ISO 100 85mm f/2.8 1/250 sec
For this occasion I choose to do milk bath session with flowers this is one I founded very creative and stylish for my preference and as being the most popular they are so pretty and super stunning.
They can be taken overhead showing the face, full-body or from an angle. Some will just show legs, arms, hands. These flowers can be real or fake we have shot with both but obviously real do look better but you can edit fake ones to look great too.
How to Create Beautiful Milk Bath Photograph
Each photographer has its preference when it comes to creating a milk bath set up for photography, some use regular milk mixed with water, soap ( like in my case)even others use food coloring to add more punch to photo sessions. But as I said different photographers have different tastes. Milk bath photography is ideal for anyone who wants romantic, dreamy portraits. You can transform your pictures of the milk bath into beautiful, imaginative portraits with the right props.
For this session, I used Savon du Midi soap which is organic, vegan & allergic friendly. This soap gives the same effect as you would use a milk mixture.

Savon du Midi
Shea Butter Soap Mild, nourishing soap with organic shea butter
First things first…
You want to plot your photoshoot in advance, so that you have the exceptional gadget and props. A wide-angle lens is vital if the rest room is small in size. You may also need reflectors or artificial lighting if you don't have a good source of natural light. You also can experiment with props ahead of your photoshoot to assure if they float
Lighting
I prefer to use off camera flash, however, this is entirely up to your style and availability. For optimal results, I recommend to bounce the flash from a diffuser into a white ceiling to achieve an even lightning across the room and avoid reflections on the water surface.
How To prepare the bath
Start by filling the bathtub with warm water.
Add the Savon du Midi and rub the soap, this will take a good 10 minutes to accomplish
Let the mixture settle for 5 minutes.
Place your model or subject first as the floating props can be difficult to deal with and the tiniest movement can ruin your composition.
Add your props and prepare your composition. In my case, we used fresh flowers but consider, leaving 2 to 3 centimeters of the stem to help them float better on top of the water mixture.


Using artificial light also helps you to choose a low ISO allowing you to get clean and tack sharp images of the subject and flowers. You can achieve this by opening up your aperture and reducing your shutter speed. For my aperture, I shot around a 2.8, however, you can use the lower your lens offers. I also used a shutter speed of around 1/250, however, remember if you drop your shutter speed way below the risk for introducing camera shake is gonna be higher leading you to blurry images
Post-Production
Besides my personal preferences, one aspect of editing that is very universal for this style of photography is ensuring the bath looks crisp white and not grey. I find the best way to do this is by simply tweaking the white balance, exposure, and whites a little.